Are you running an eCommerce store on WooCommerce powered by WordPress?
If yes, we’ve exciting magic recipe for you which helps you to increase your WooCommerce store conversions.
And, the magic is Lightbox popups!
Lightboxes allows you to easily grab the attention of your visitor and to lead them into sales, especially when your prospect is about to the website.
Thinking how?
The Lightbox popups can be a coupon code, latest offer, to promote a special product to collect their contact information such as name, email address etc. which can be used for retargeting and email marketing campaigns.
Imagine you are going to make an order for a product, but going to leave the store maybe because thought purchasing the product later or price concerns, and when you move you were about to close the website, a cool popup appears which just asks your email address to send your exclusive 10% offer coupon code.
How exciting it is? You might request the coupon code by entering your email address and soon end up with purchasing the product.
I hear you– Thinking about the developer effort and other factors while creating this technology?
The good news is you don’t need to reinvent the wheel again or even doesn’t need to use your developer resource to make these kinds of popups.
Let us show you how easy it is to create conversion boosting popups inside your WooCommerce without writing a single line of code.
You heard it right, and also you can connect these popups with your favourite CRM or email marketing tools such as ActiveCampaign, Keap, etc.
Alright, so let us show you how to create you first WooCommerce popup.
How to Create Exit Popups in WooCommerce
First, we need to have an active on OptinMonster account and it should be connected to your WordPress. You can create your OptinMonster account here.
Once you created your OptinMonster account, you need to connect it with your WordPress. It’s pretty simple. Just install & active the OptinMonster plugin on your WordPress and then click on connect your account button.
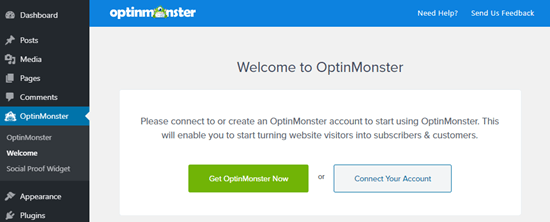
Once the OptinMonster plugin is activated, you can just follow the on-screen instructions to create your WooCommerce popup without writing a single line code.
Leave a Reply